This is a Wordpress tutorial on how to add google analytics to WordPress.
Step 1:
Go to your Google Analytics account.
You will be shown how to find your tracking code, which will be entered on to Wordpress.

Step 2:
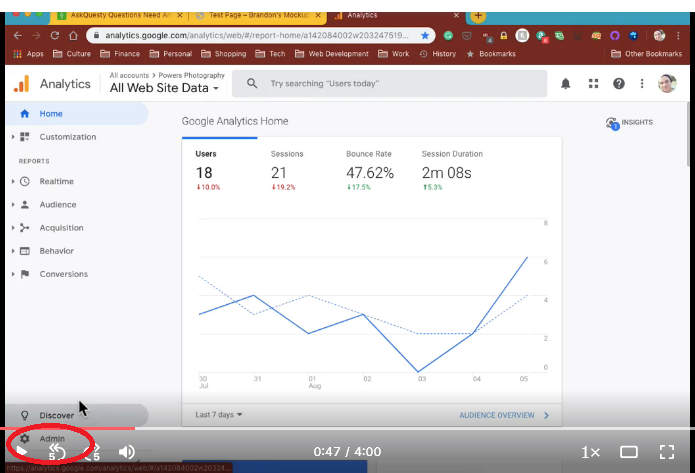
When you get into your account, go to Admin.
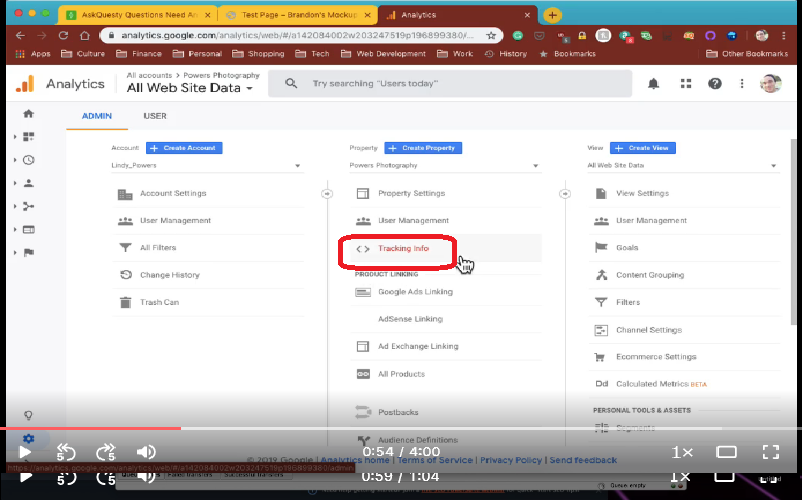
Right in the middle, you’ll find tracking info. This is where you get the tracking code to put on your website.
Step 3:
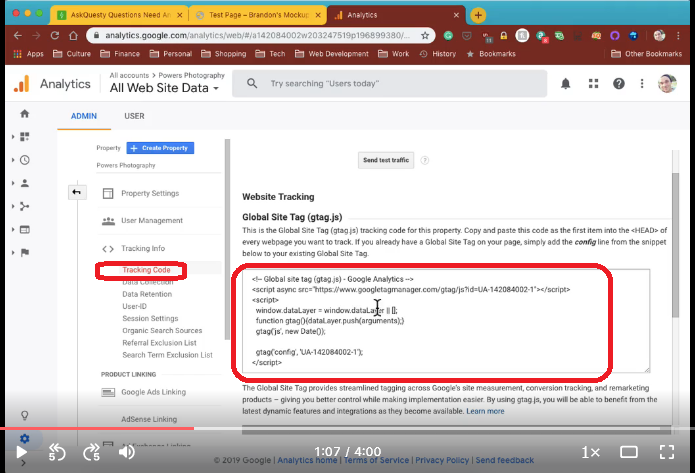
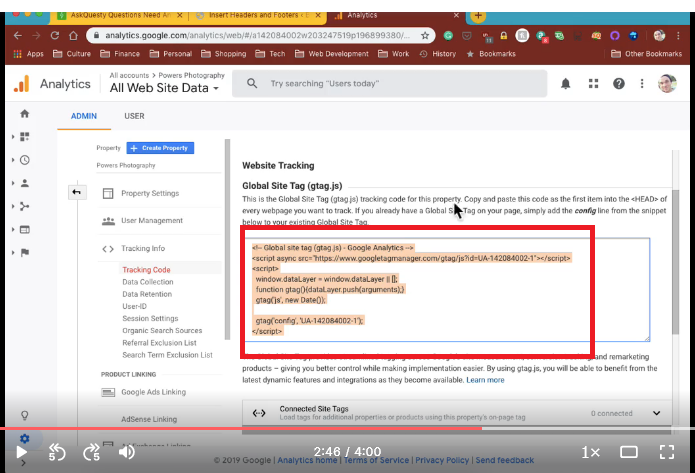
Go to the Code and it’s going to bring up the Global Site Tag. This right here is all you need to connect Google Analytics to WordPress.
Step 4:
Copy global site tag.
Step 5:
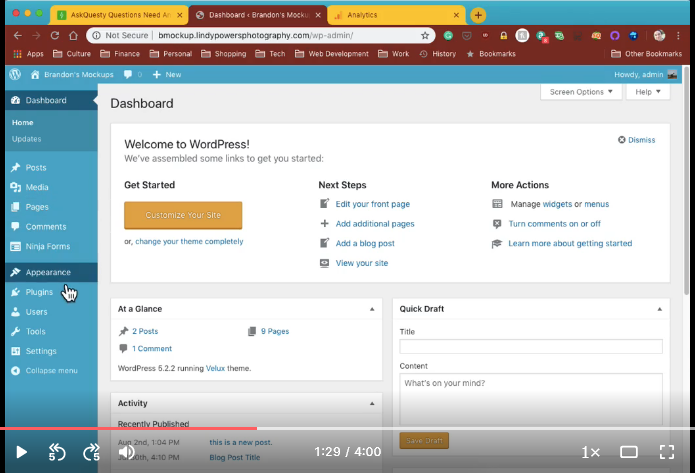
Go back to your WordPress dashboard.
Step 6:
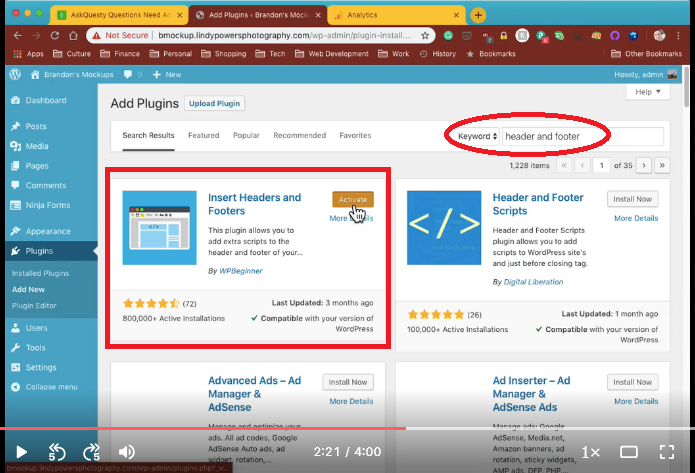
One plugin you’re going to need to install to make this easier is a header and footer plugin. Go to Add New.

Step 7:
Search for header and footer. This one has 800,000+ active installations. It is compatible and has been upgraded recently. So, go ahead and install the Insert Headers and Footers plugin. Activate it.
If you go to Settings, you will see the Insert Headers and Footers got put in here.

This is how it looks.
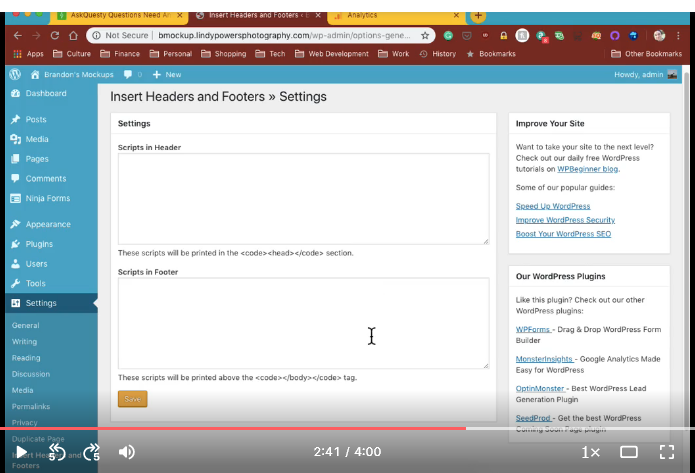
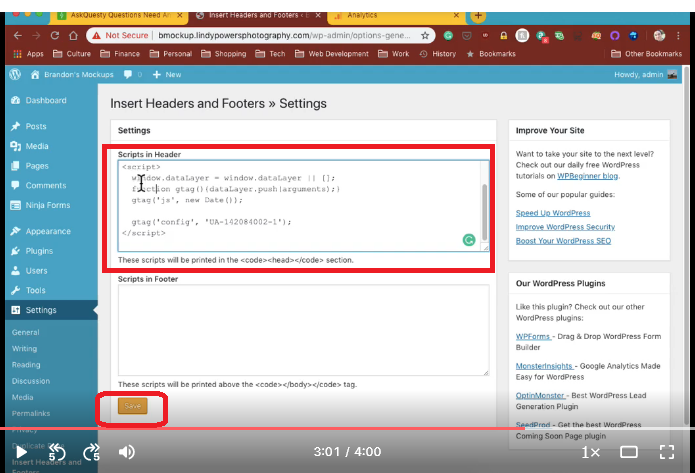
The global site tag is going to go into the header in Google Analytics of every webpage you want to track.
Step 6 and 8:
Copy and paste global site tag and go Save.
The data probably won’t show up. You may want to give it a few days to build some data to look at. Obviously, you’re not going to have much within the first hour or so. Give it a day or two and you’ll start to see data kind of build up as Google Analytics does its job on the backend.
That is basically about it. That is how you connect Google Analytics to WordPress. Thanks guys!


.png)
