Nameserver is a computer application that implements a network service for providing responses to queries against a directory service. Each hosting provider has a nameserver so when that domain is connected to that particular server, the nameserver has to be changed from that particular domain against that hosting provider nameserver. To start the process, go to your domain page, in this case it’s Godaddy.com. Open the domain settings options by clicking on the three dots next to the domain name and now you can put the nameserver that the hosting provides. Once it is propagated it takes from 24 to 72 hours because it depends on the server.
Cname is a type of resource needed in the domain name system which maps one domain name to another. This can prove convenient when running multiple services from a single IP address. A record is the most basic type of DNS record and is used to point a domain or subdomain to an IP address. Before anything else, open “Connecting domain” page, there will be instructions that will lead you to associate an A record and also to change a Cname. Now go to your domain main page and click on “Manage DNS”, this will open a page of records where you can see A records and Cnames, then you have to scroll down to the bottom and click on “add”.
To associate an “A record”, click on “Type menu” and select “A” in the drop-down field. Copy and paste the host website IP (shown in the instructions page) below “Point To” box, finally click on save. If you want to change the Cname, select “CNAME” in the drop-down field of the “Type menu”, copy and paste the host website (also shown in the instructions page) below “Point To” box and hit save.
Shopify Tutorial: How to activate nameservers, CNames and records
Step 1: Change your domain Nameserver
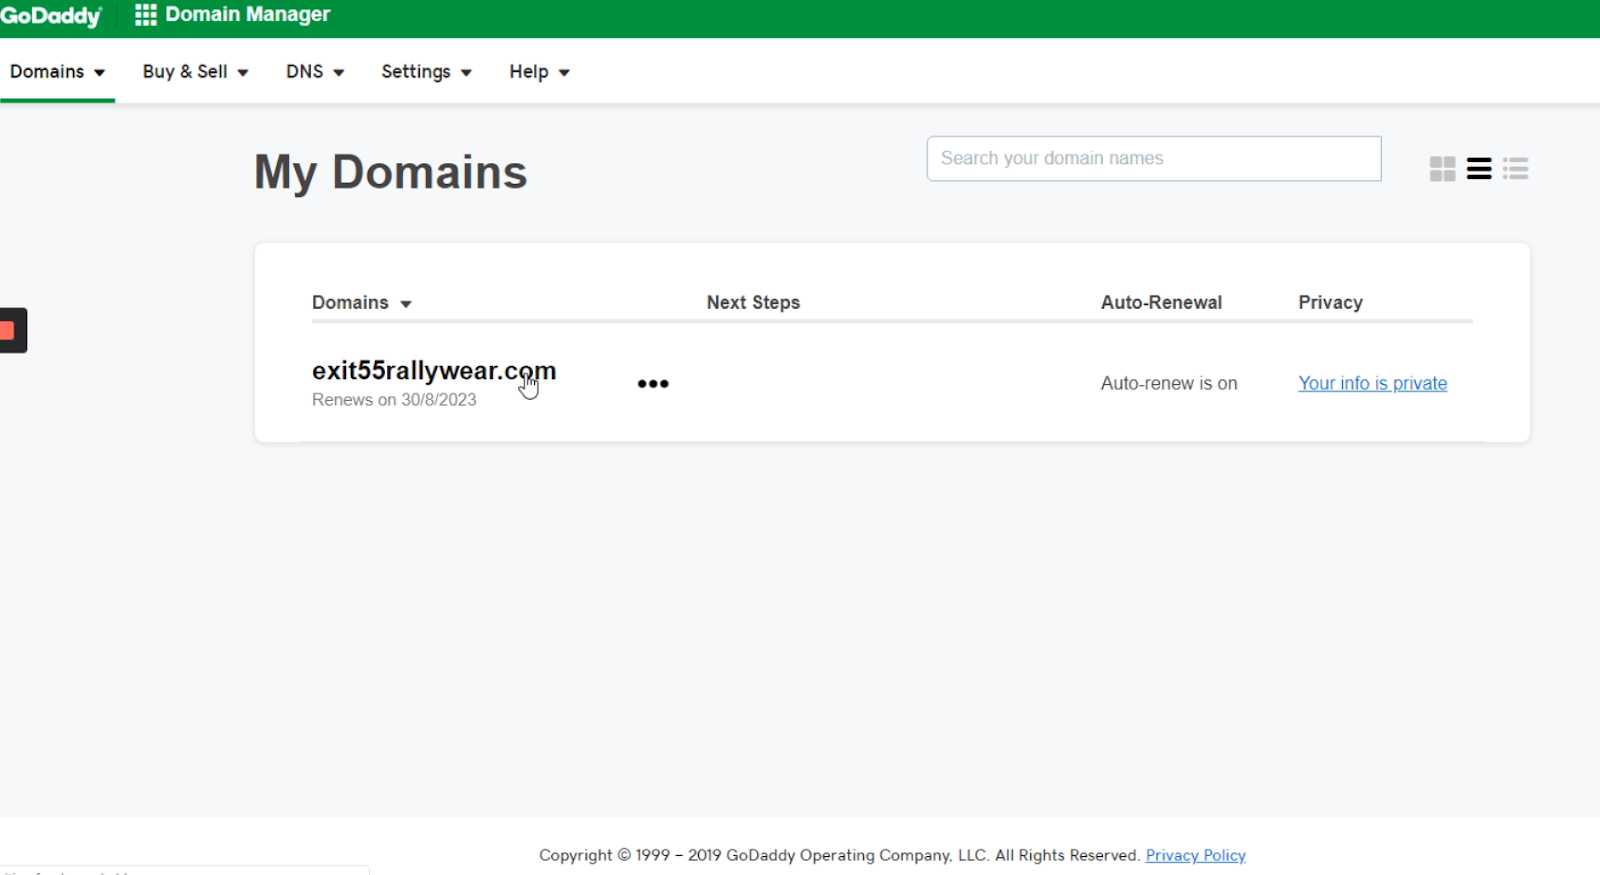
Go to your Domain main page.
Step 2: Click on your Domain settings option
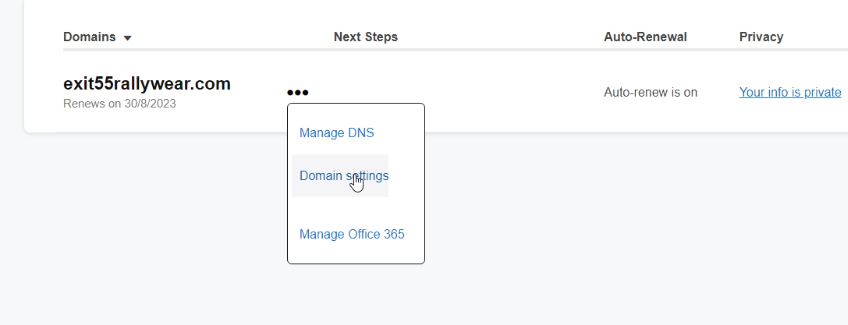
In your Domain settings option you should see the option to change nameserver, there you must put nameserver that it’s provided by the hosting and it would be done.
Step 3: To associate an A record to your Domain
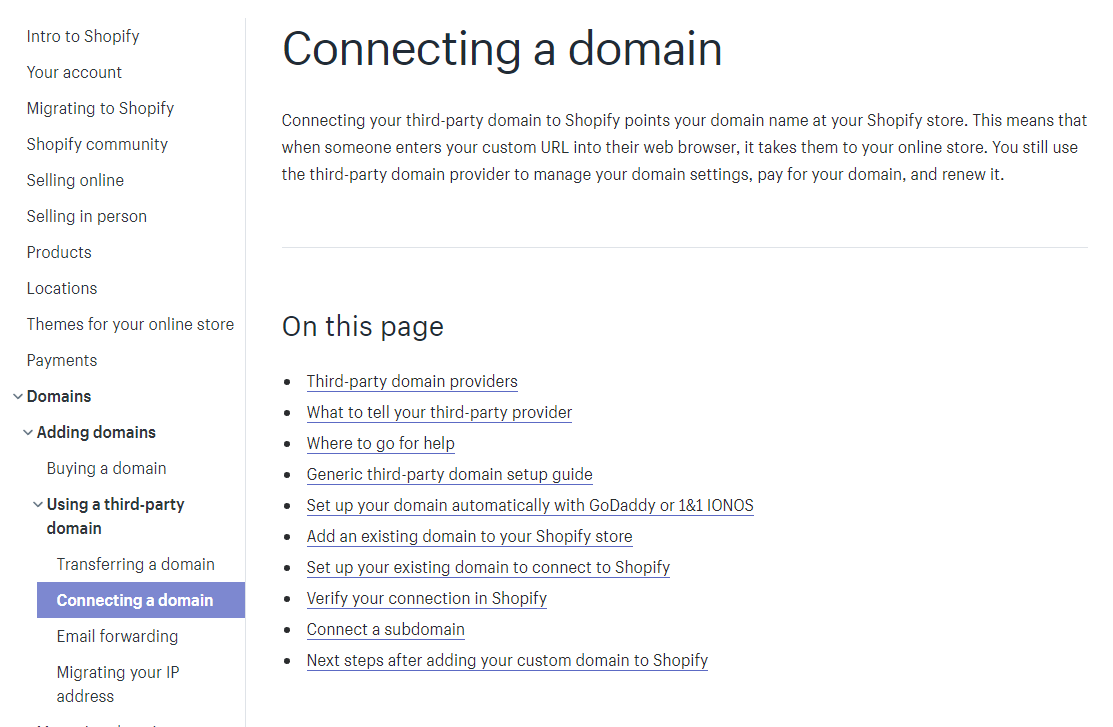
First of all, click on “Connecting a domain” to open an instructions page.
Step 4: Find the Instructions for A record associating process

In this image we have the information needed to A record associating and also to change CNAME, keep this open in another window.
Step 5: Go to your Domain main page
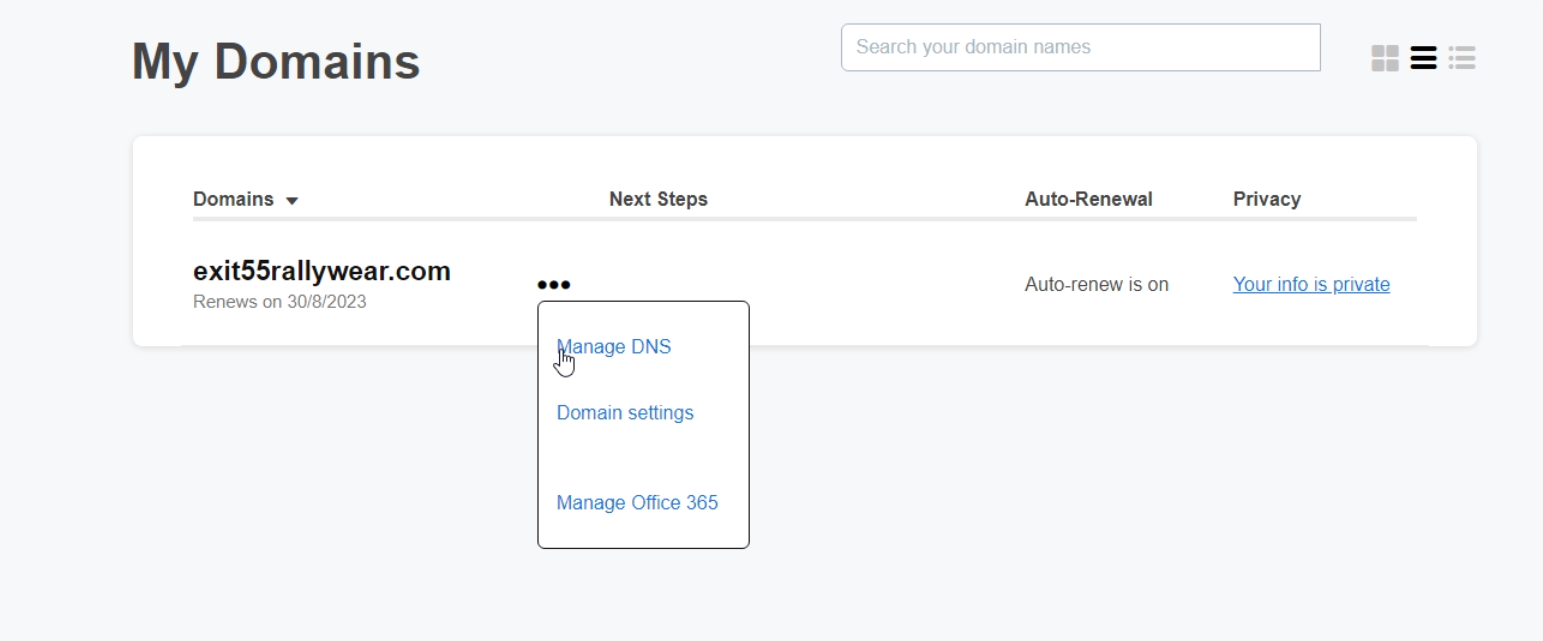
Go to your Domain main page and click on “Manage DNS”, this would open a page of Records where you can see A records and Cnames.
Step 6: Scroll to the bottom and click on “Add”
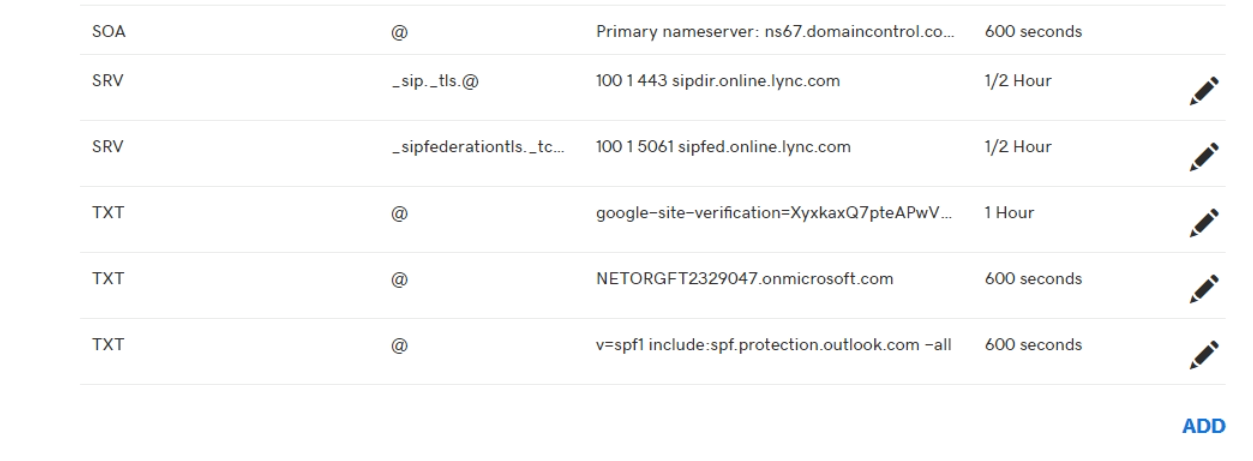
Before going further, you need to go back to the Host website of the step 3.
Step 7: Click on Type menu

This would display a drop-down or editable field, then select the “A” option
Step 8: Now you need to use the requirements from Step 4

Just copy and paste them from the Host website and click on save.
Step 9: Change the CNAME

We can use the exact same steps 3 to 8, with the only exception of using the Host website information for CNAME change process as stated in step 6.


.png)
