This is a Wordpress tutorial on how to password protect a pages in WordPress.
Step 1:
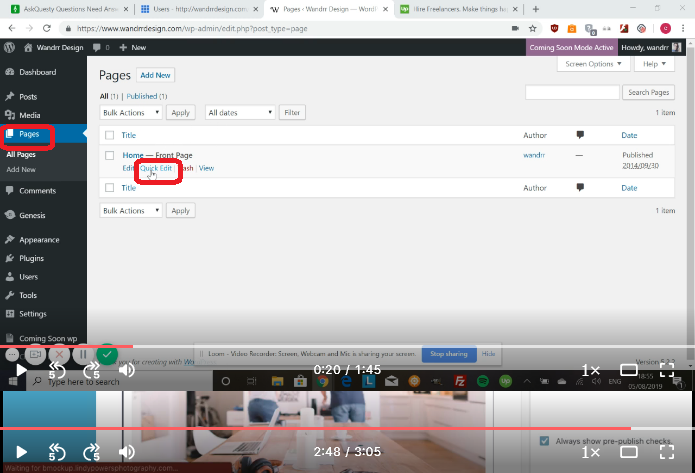
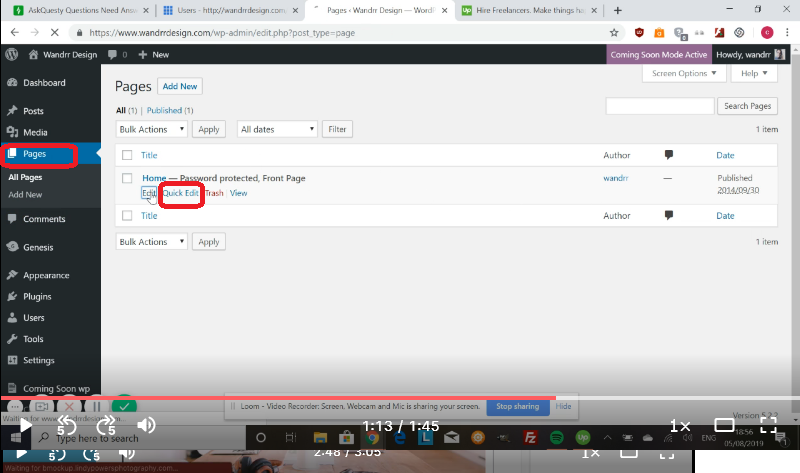
Go to Pages and click whatever page that you want to password protect.
Step 2:
Click Quick Edit.
Step 3:
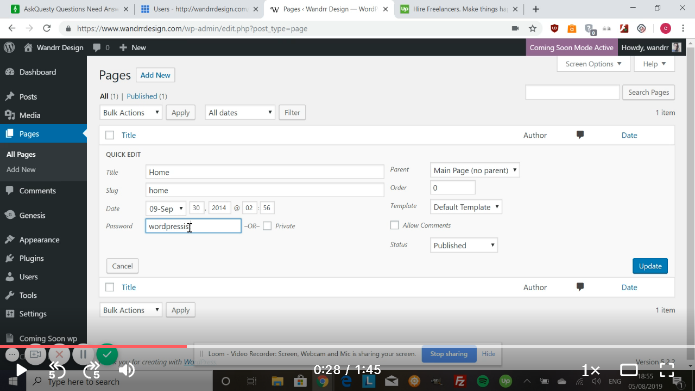
From Quick Edit, you’re going to see Password. This is where you’re going to enter your password.
Step 4:
Click update.
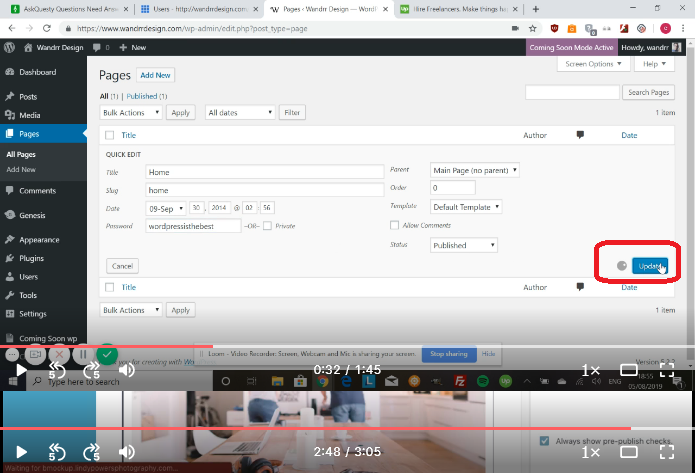
And there you go. We’ve now added a password to this page. Whoever doesn’t have this password will not be able to see the contents of this page.

If you do have the password, you simply add it. So, go to Visit Site.
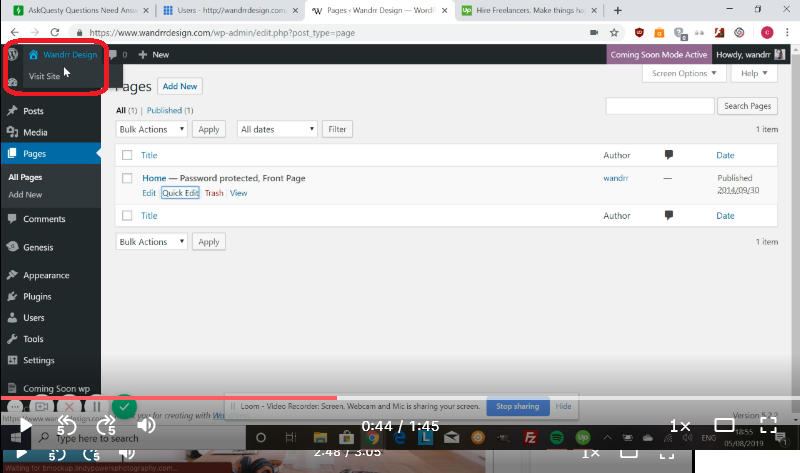
You’re going to see Protected and then there is going to be an option to say add the password to this. If I’m not signed in, I will see an option to add the password.
What you do, you would add the password, click okay, and then you’d be able to see all the contents of your page.
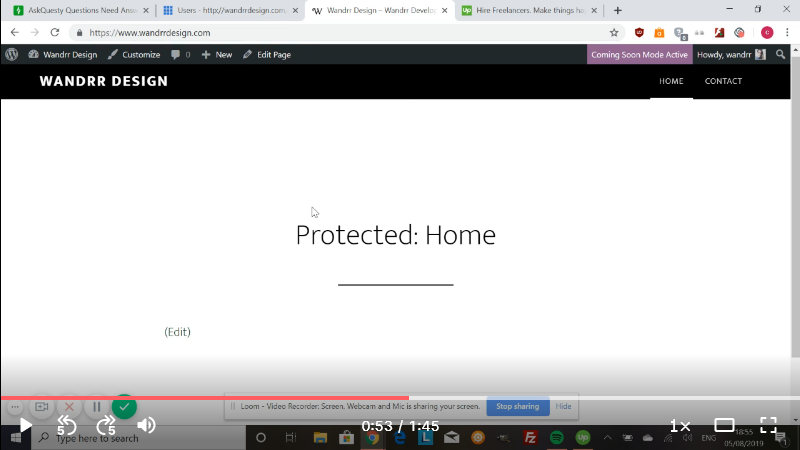
If you want to take this off again, go back to Quick Edit on Pages. You can also do it from that page as well.
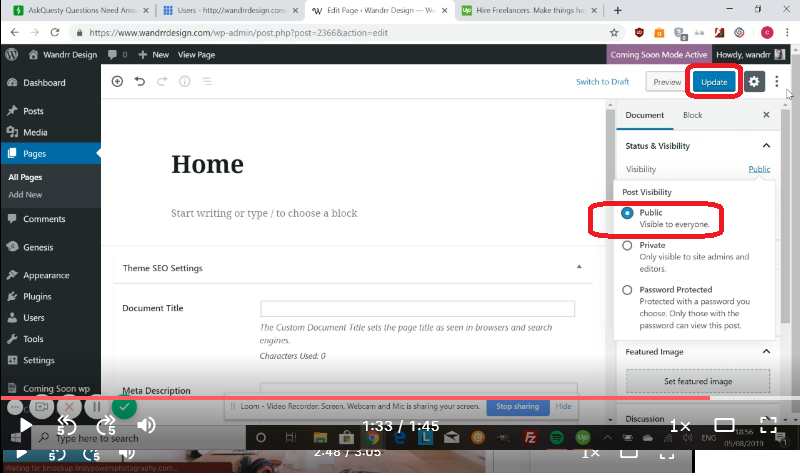
If you’re in Edit, you don’t necessarily have to go to Quick Edit. It’s just kind of the quickest way to do it.

You can see Visibility here and it says Password Protected. If you click into this, you can change the password. You can change it to Private where only site admins and editors can view the page or you can change it back to public.

If you decide to change it back to Public, you can click Update.
Click on View Page.
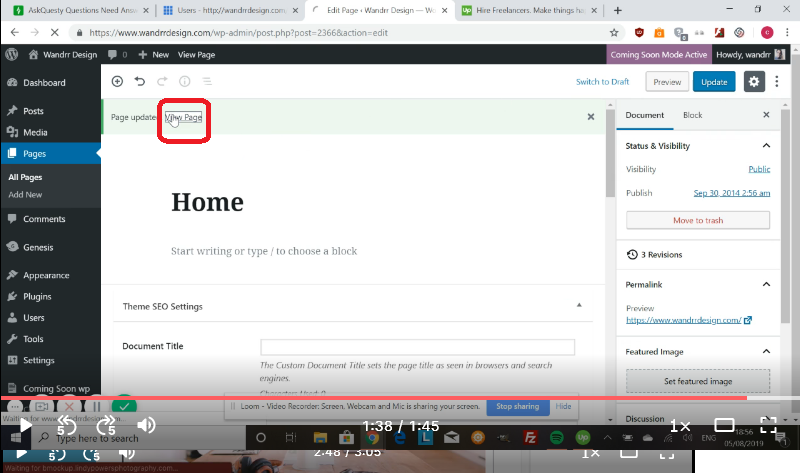
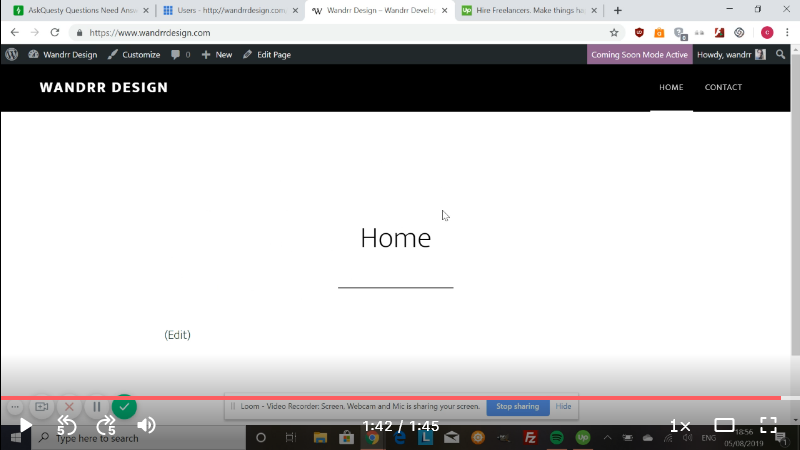
You can see that now it does not say Password Protected.
Hope that helps and have a great day!


.png)
