Shopify Tutorial: Solve SSL certification problem
What do you have to do when it says: “Domain says SSL unavailable”? This type of problem happens when we connect a new domain to the Shopify. We have two options; we can connect an existing domain or we can buy a new domain fromShopify. In both cases when we are connecting a domain to Shopify it takes sometime to propagate. So, what do we need to do? We just need to check whetherthat connection is successful or not. If the connection is successful and SSLis not coming up properly, we have to wait from 24 to 72 hours. Once thepropagation is done you should see your site properly with the domain name that you have added. To change the primary domain, click on the option that is inthe upper right corner of the connecting existing domain page, now you have two options over here. You can select between adding “www” prefix to your domainname or without it. It is recommended to use only one thing either with the “www”or without it because it will create some canonical errors, so it isrecommended to use it without “www” for the domain name but it is totally up toyou. So, SSL is created by default in Shopify, you do not have to do anythingelse regarding SSL, you just need to check the connection of the domain, if itis proper it will come up within 72 hours max.
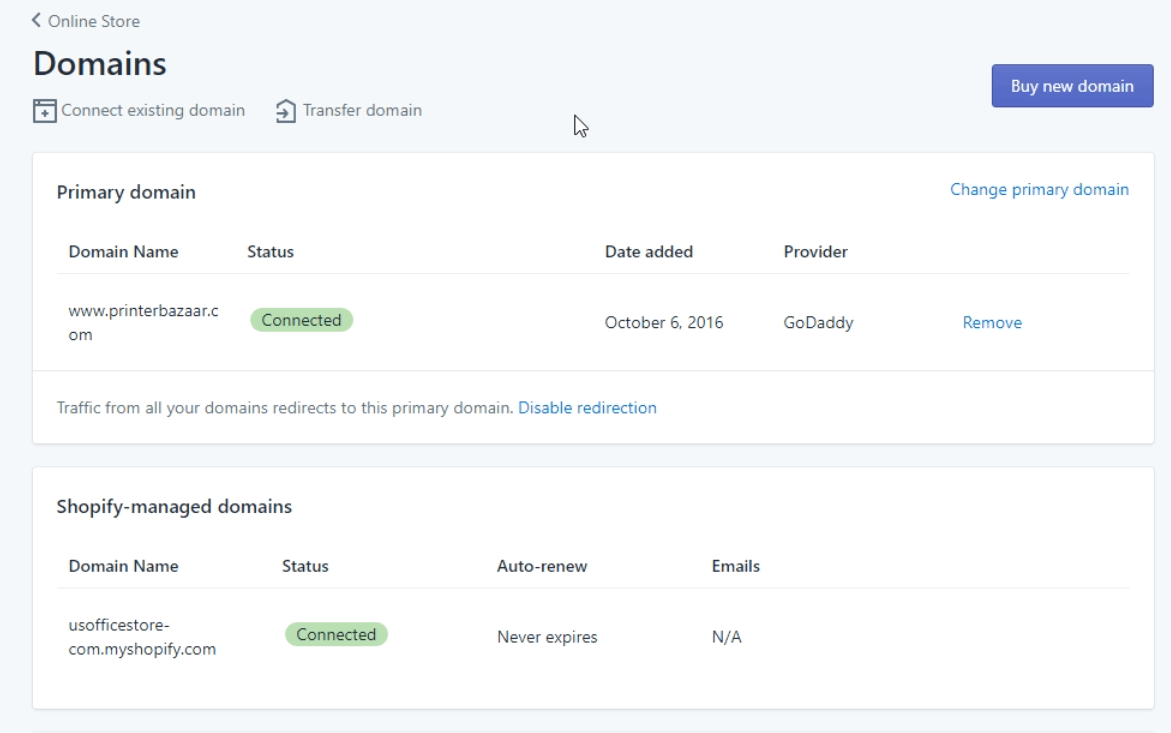
Step 1: Connect an existing domain

Here you can connect an existing domain, domain or just simply buy a new one.
Step 2: Confirm the Domain Status

When it says “Domain says SSL unavailable”. This problem happens when we connect an existing domain or a new domain to the Shopify. In both cases Shopify takes some time to propagate. So, We just need to check that connection is successful. If SSL is not working, we just have to wait for 24 or 72 hours,this is the usual time it takes to propagate.
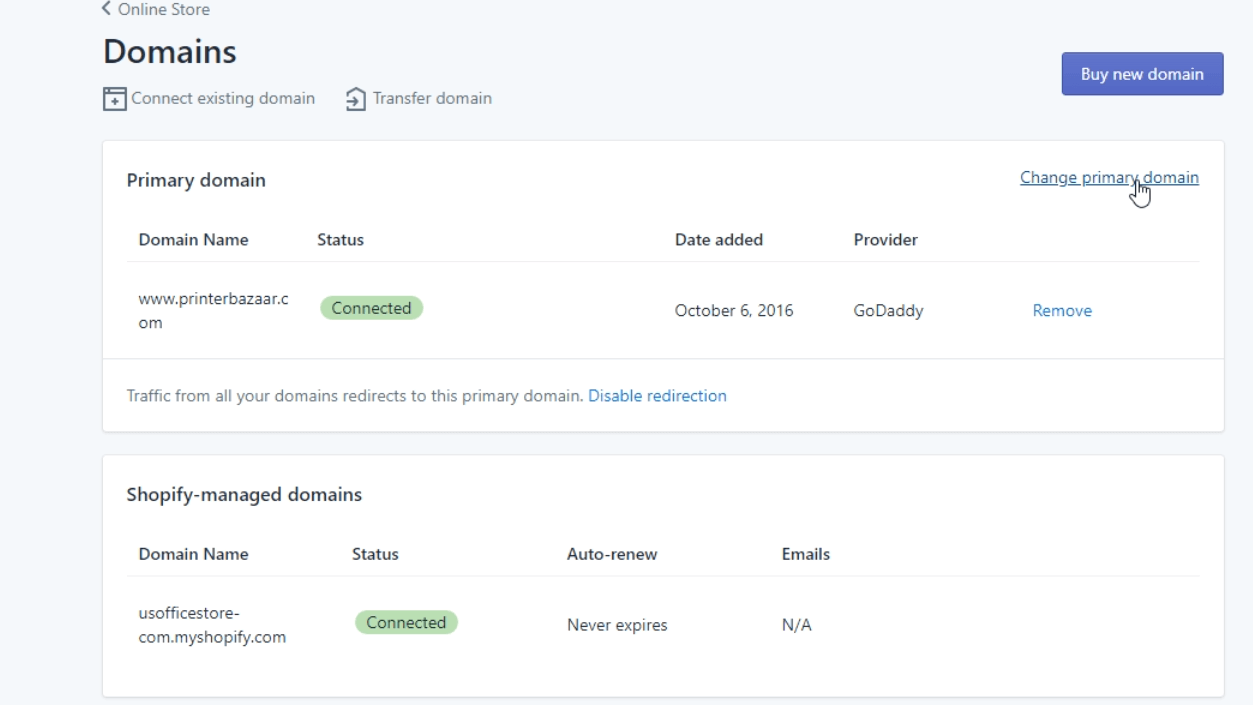
Step 3: Click on “Change primary domain”

Click on the upper right corner, this will allow you to customize your domain.
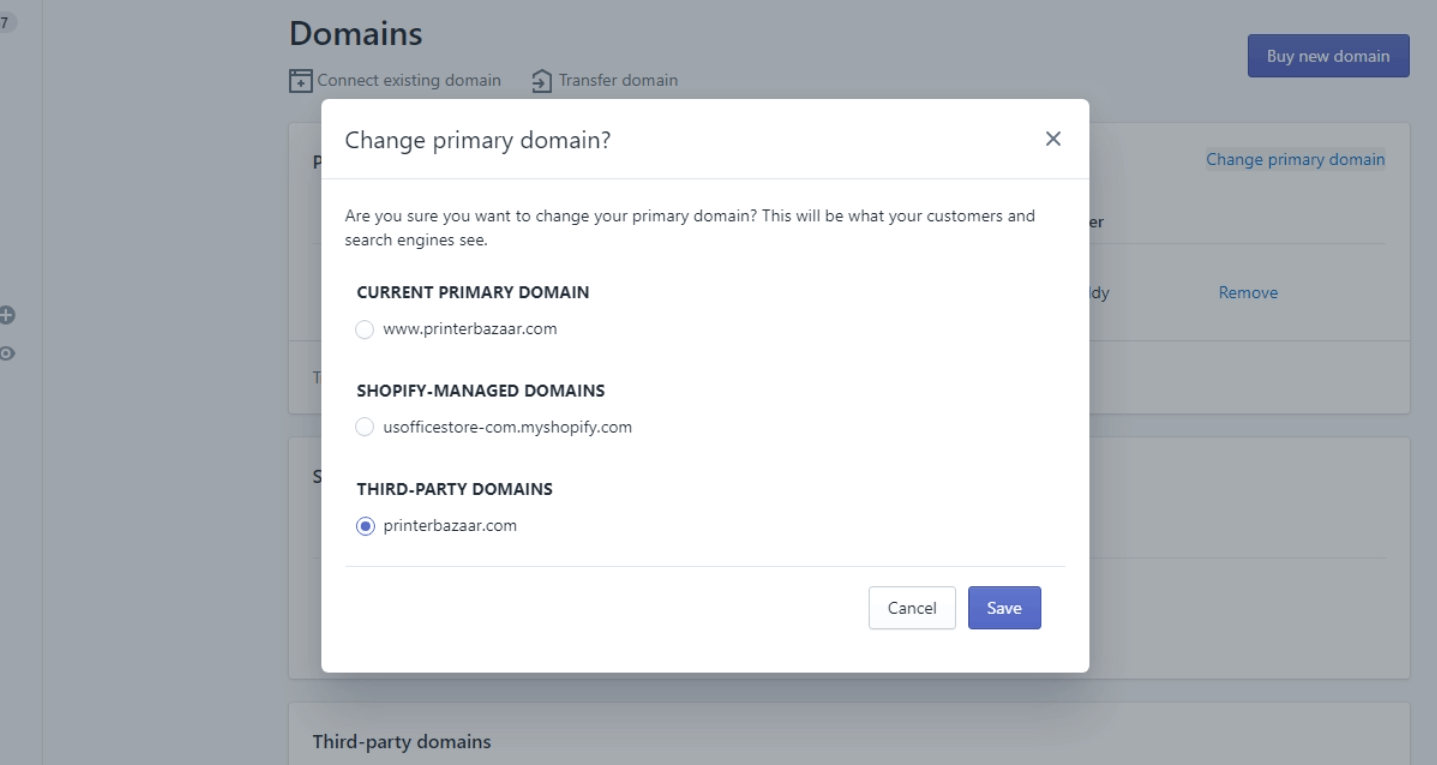
Step 4: Remove the “www” from your domain

Click on the third option, this will remove the “www” from your domain as “Website.Com” instead of “www.Website.com”.
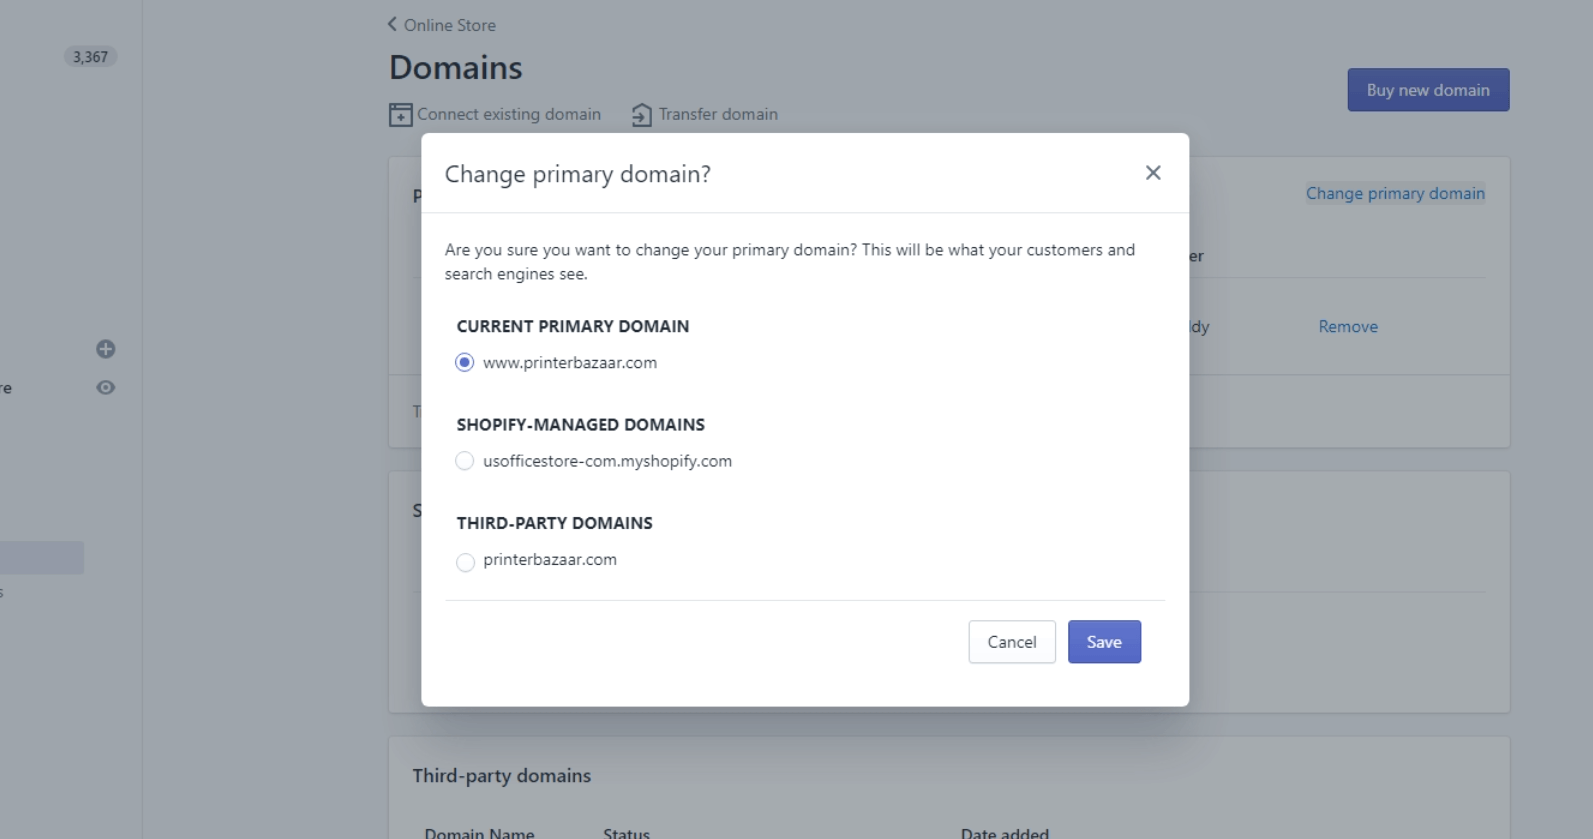
Step 5: Add “www” as prefix to your domain

Click on the first option, this will add the “www” to your domain as “www.Website.Com” instead of “Website.com”.


.png)
